Quick Start
Begin working with the Relational Knowledge Graph System (RKGS) using the RelationalAI Console. The Console has everything you need to use the RKGS.
Logging into the RAI Console
Before beginning this tutorial, provide the account manager with your email address so they can set up a user account for you.
Multiple user accounts may belong to the same organization account.
The first time you access the RAI Console, you’re required to set up two-factor authentication.
Here are the steps you need to follow:
-
Go to https://console.relationalai.com/ (opens in a new tab) and click Login.
-
In the page that opens, enter your email address and click Continue with Google.

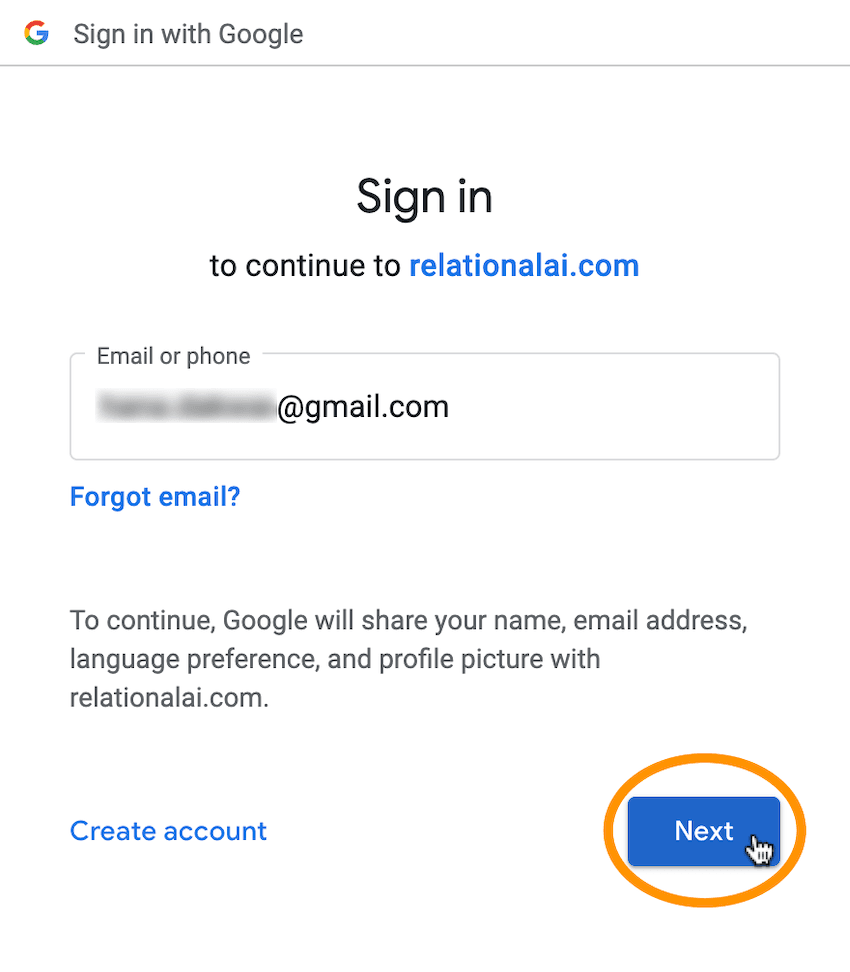
- In the page that opens, enter your email address again and click Next.
- In the page that opens, enter your password and click Next.
Steps 5-13: Setting up two-factor authentication
- You’re now redirected to a page prompting you to complete a two-step verification process.

Simultaneously, you receive a verification message on your device. Click to verify your identity.
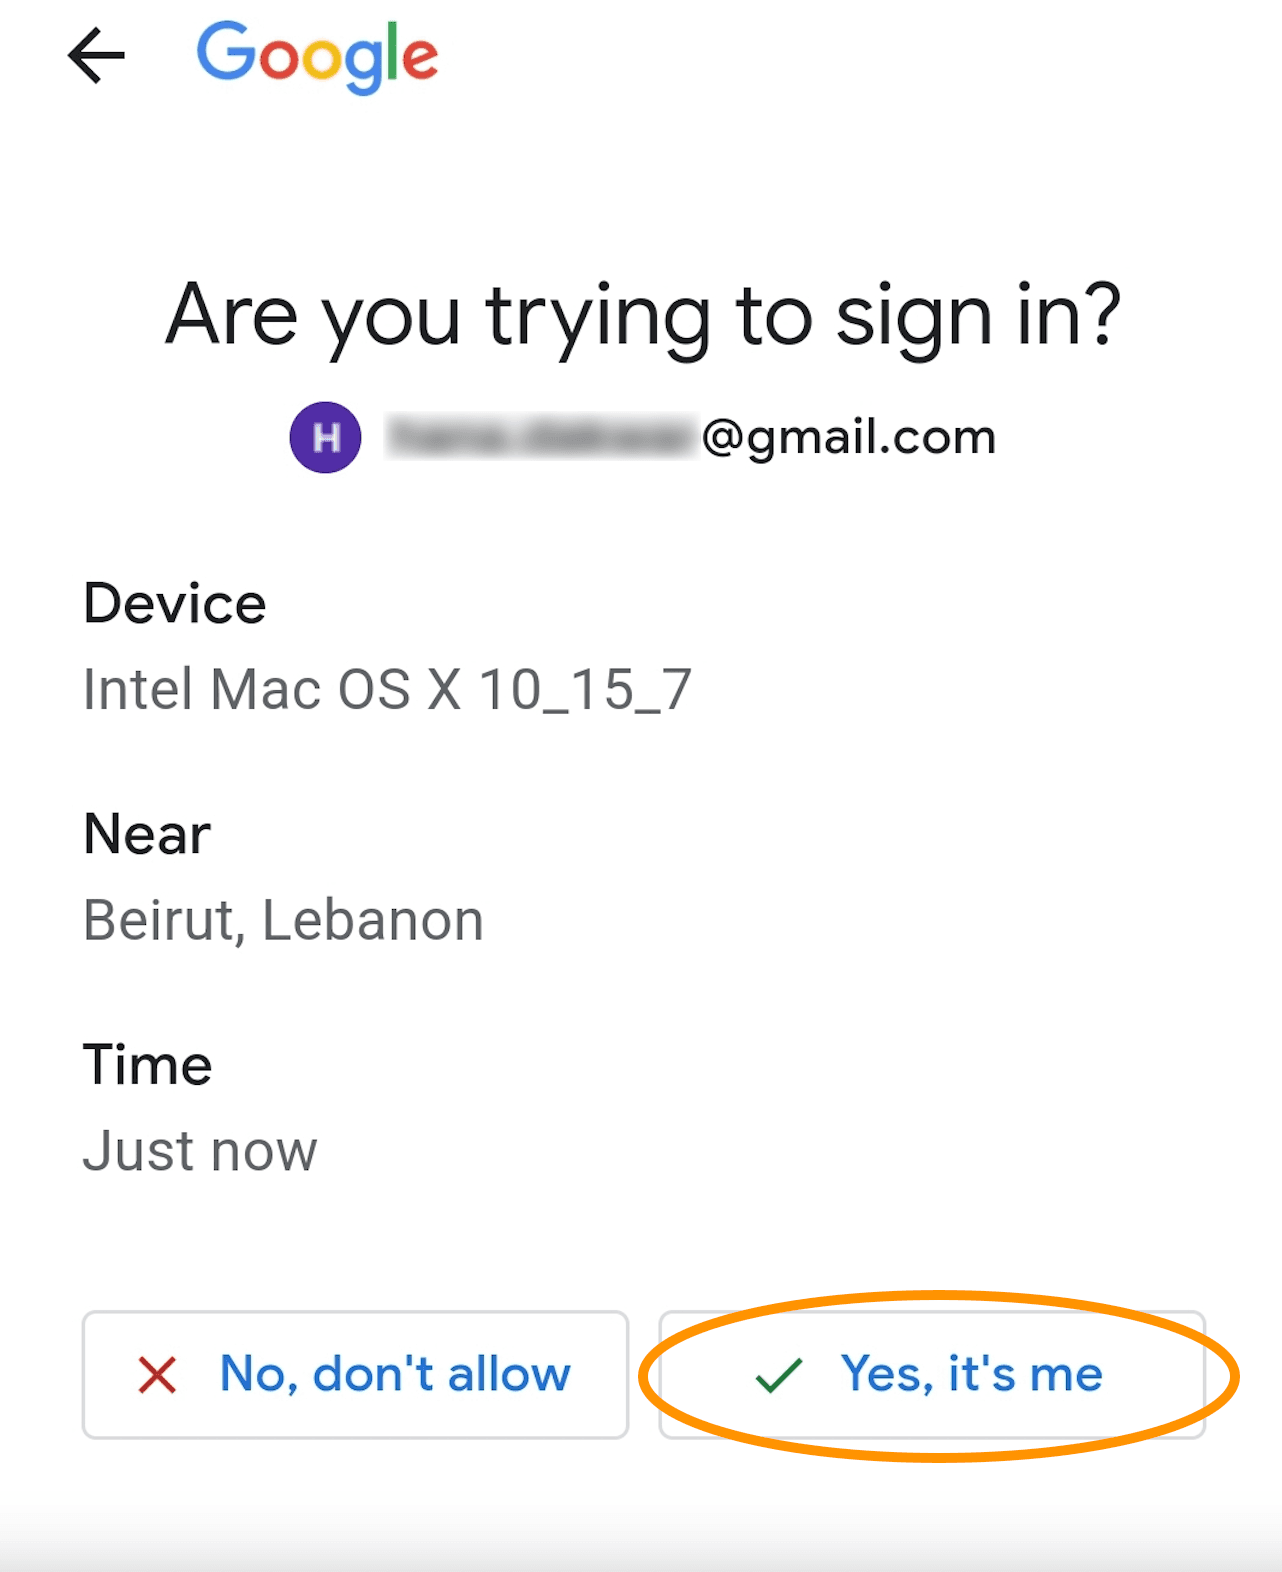
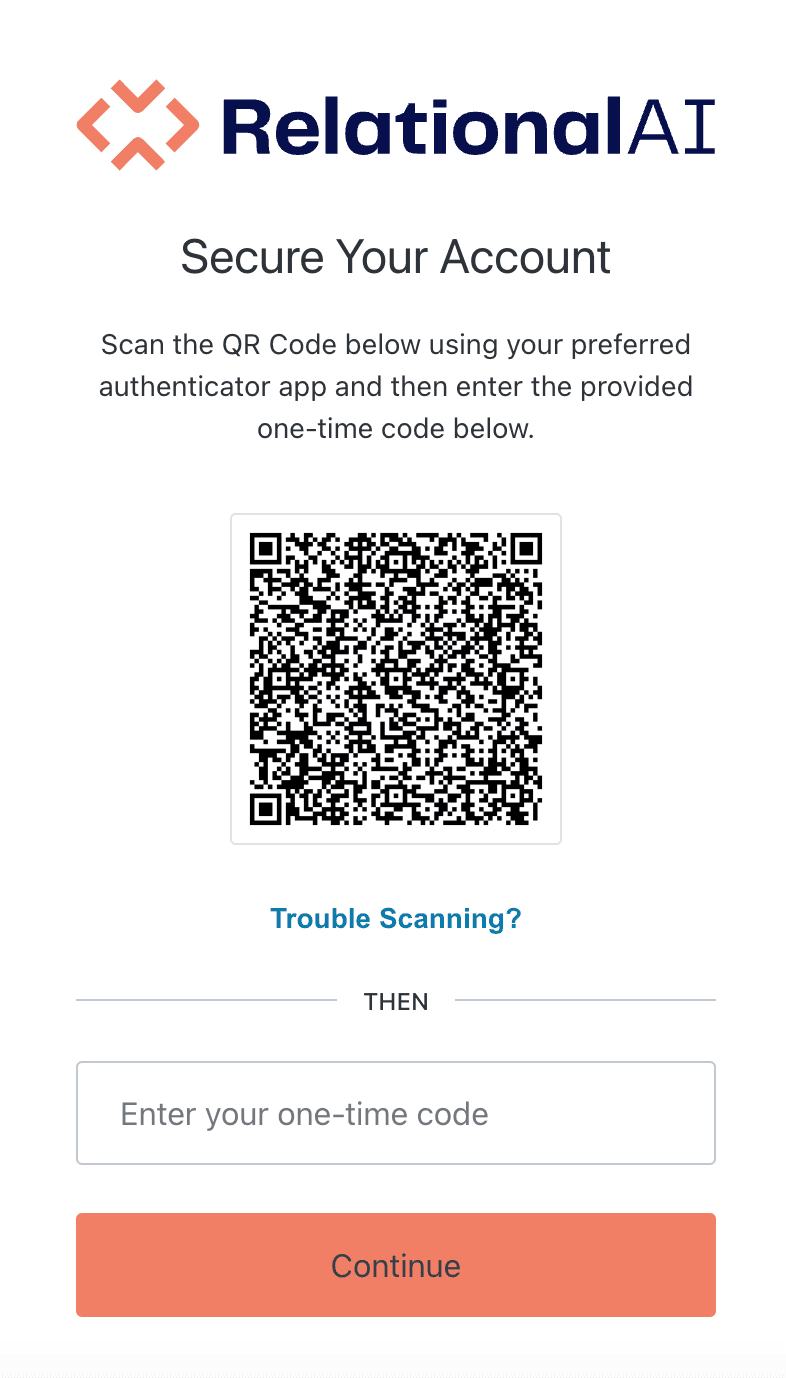
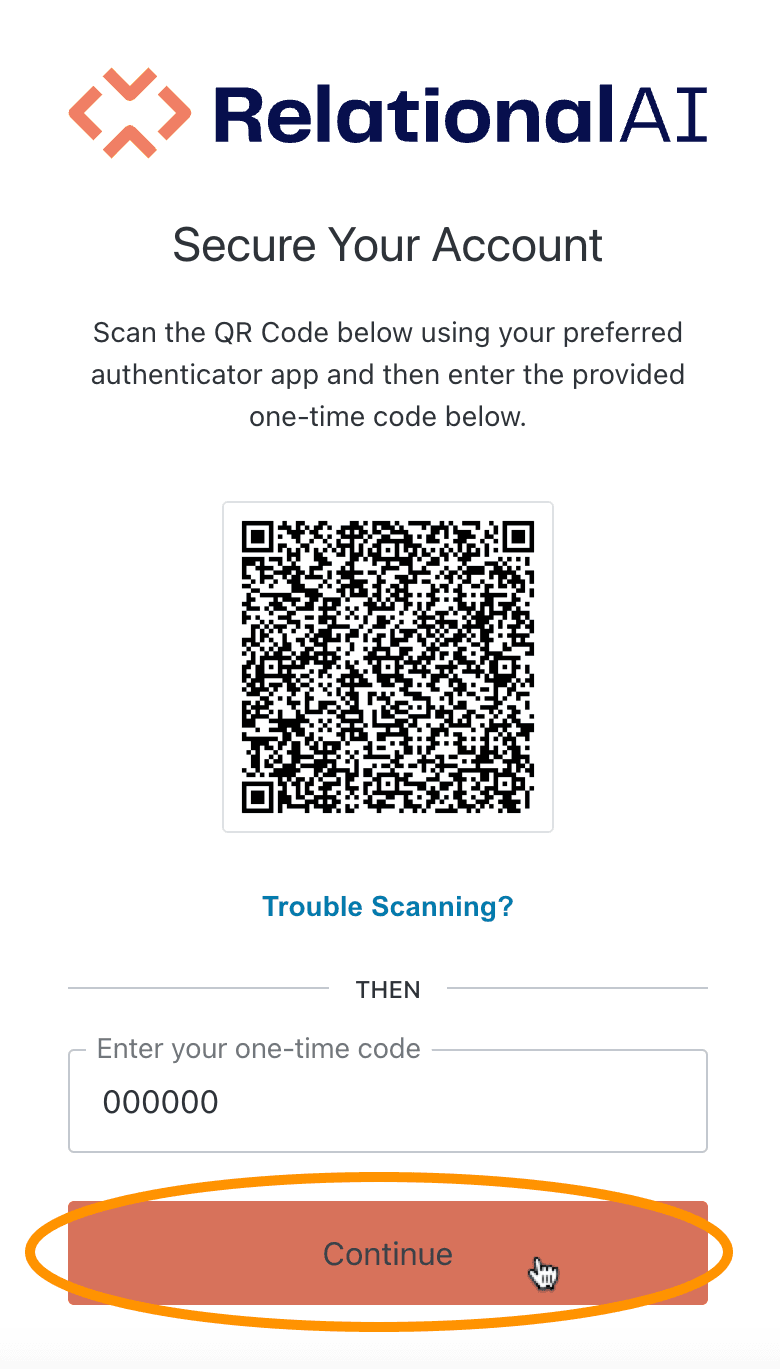
This redirects you to a page prompting you to scan a QR code and enter a one-time code.
-
Using your smartphone, download a two-factor authentication application, like Google Authenticator or Authy.
-
Set up the application by following the instructions. Based on your application of choice, these instructions may require that you enter your country code, phone number, or email address.
-
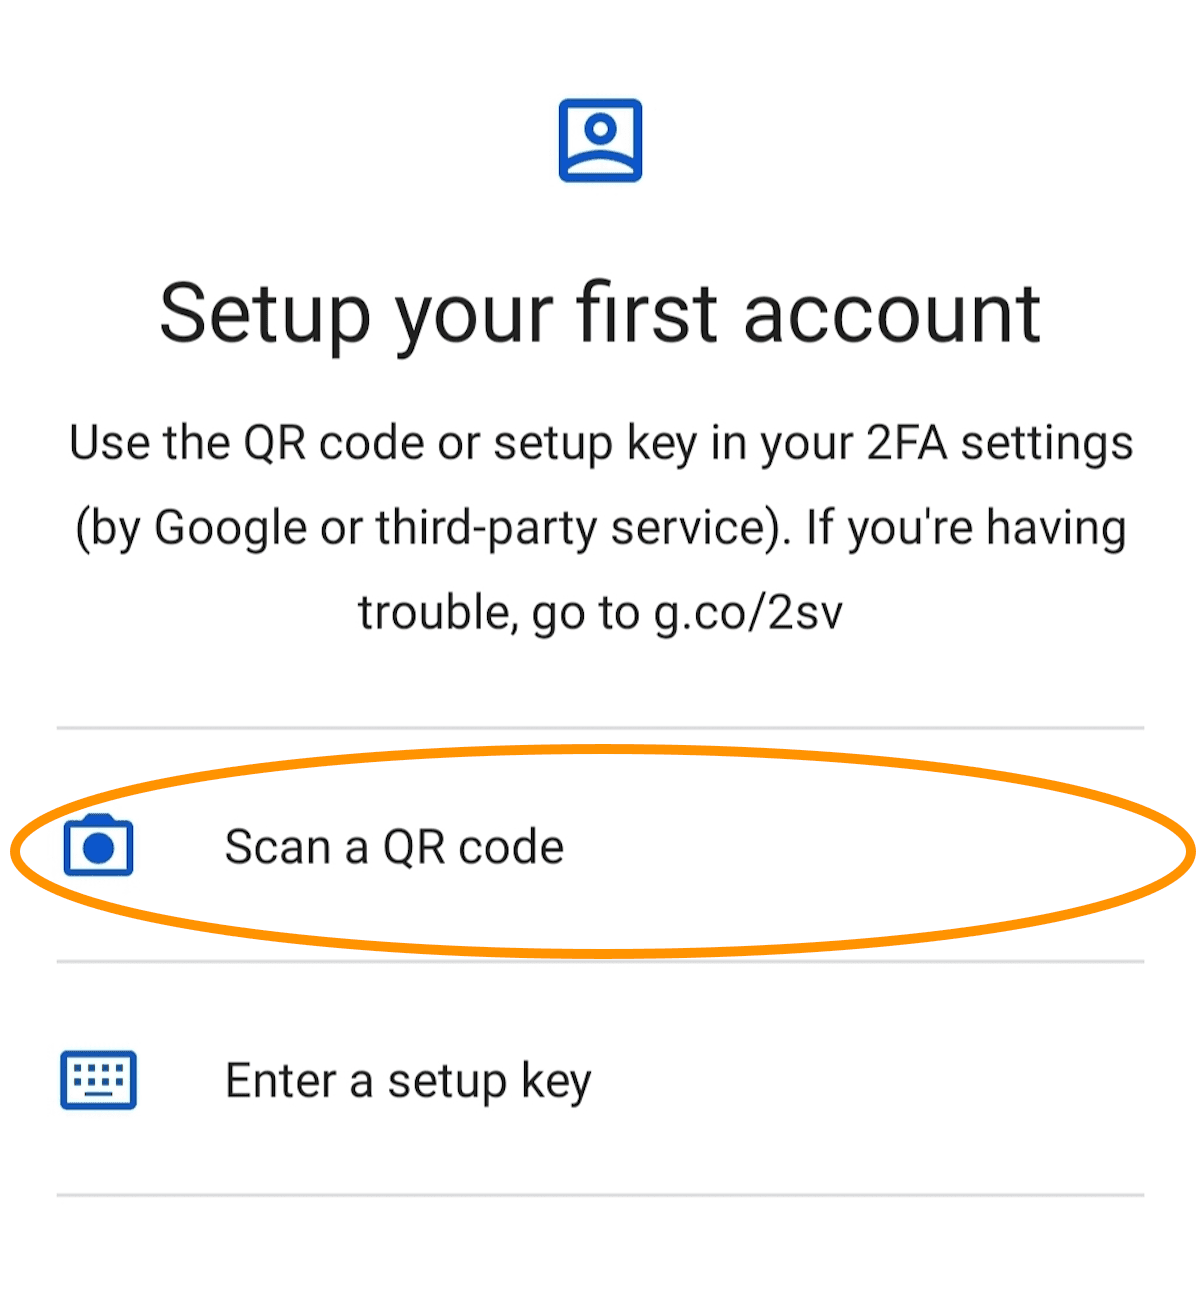
Once you complete the setup, you will be redirected to a page with the option to scan a QR code. Click to scan the QR code.
-
You are then prompted to authorize the application to access your camera. Click to provide the necessary permissions. This automatically launches your phone’s camera.
-
Point your phone’s camera to scan the QR code on the screen.
-
Once you scan the QR code, the application redirects you to a page displaying a six-digit code that changes every few seconds.
-
Go back to the Console page, enter this code into the designated field, and click Continue to complete the two-step verification process.
- This redirects you to the Login page (opens in a new tab) again. Click Login.
- Enter a one-time-only code using the application you’ve just set up.
Setting up two-factor authentication is a one-time requirement for all users accessing the RAI Console for the first time. All logins after that require that you enter your email and a one-time-only code generated by the two-factor authentication application.
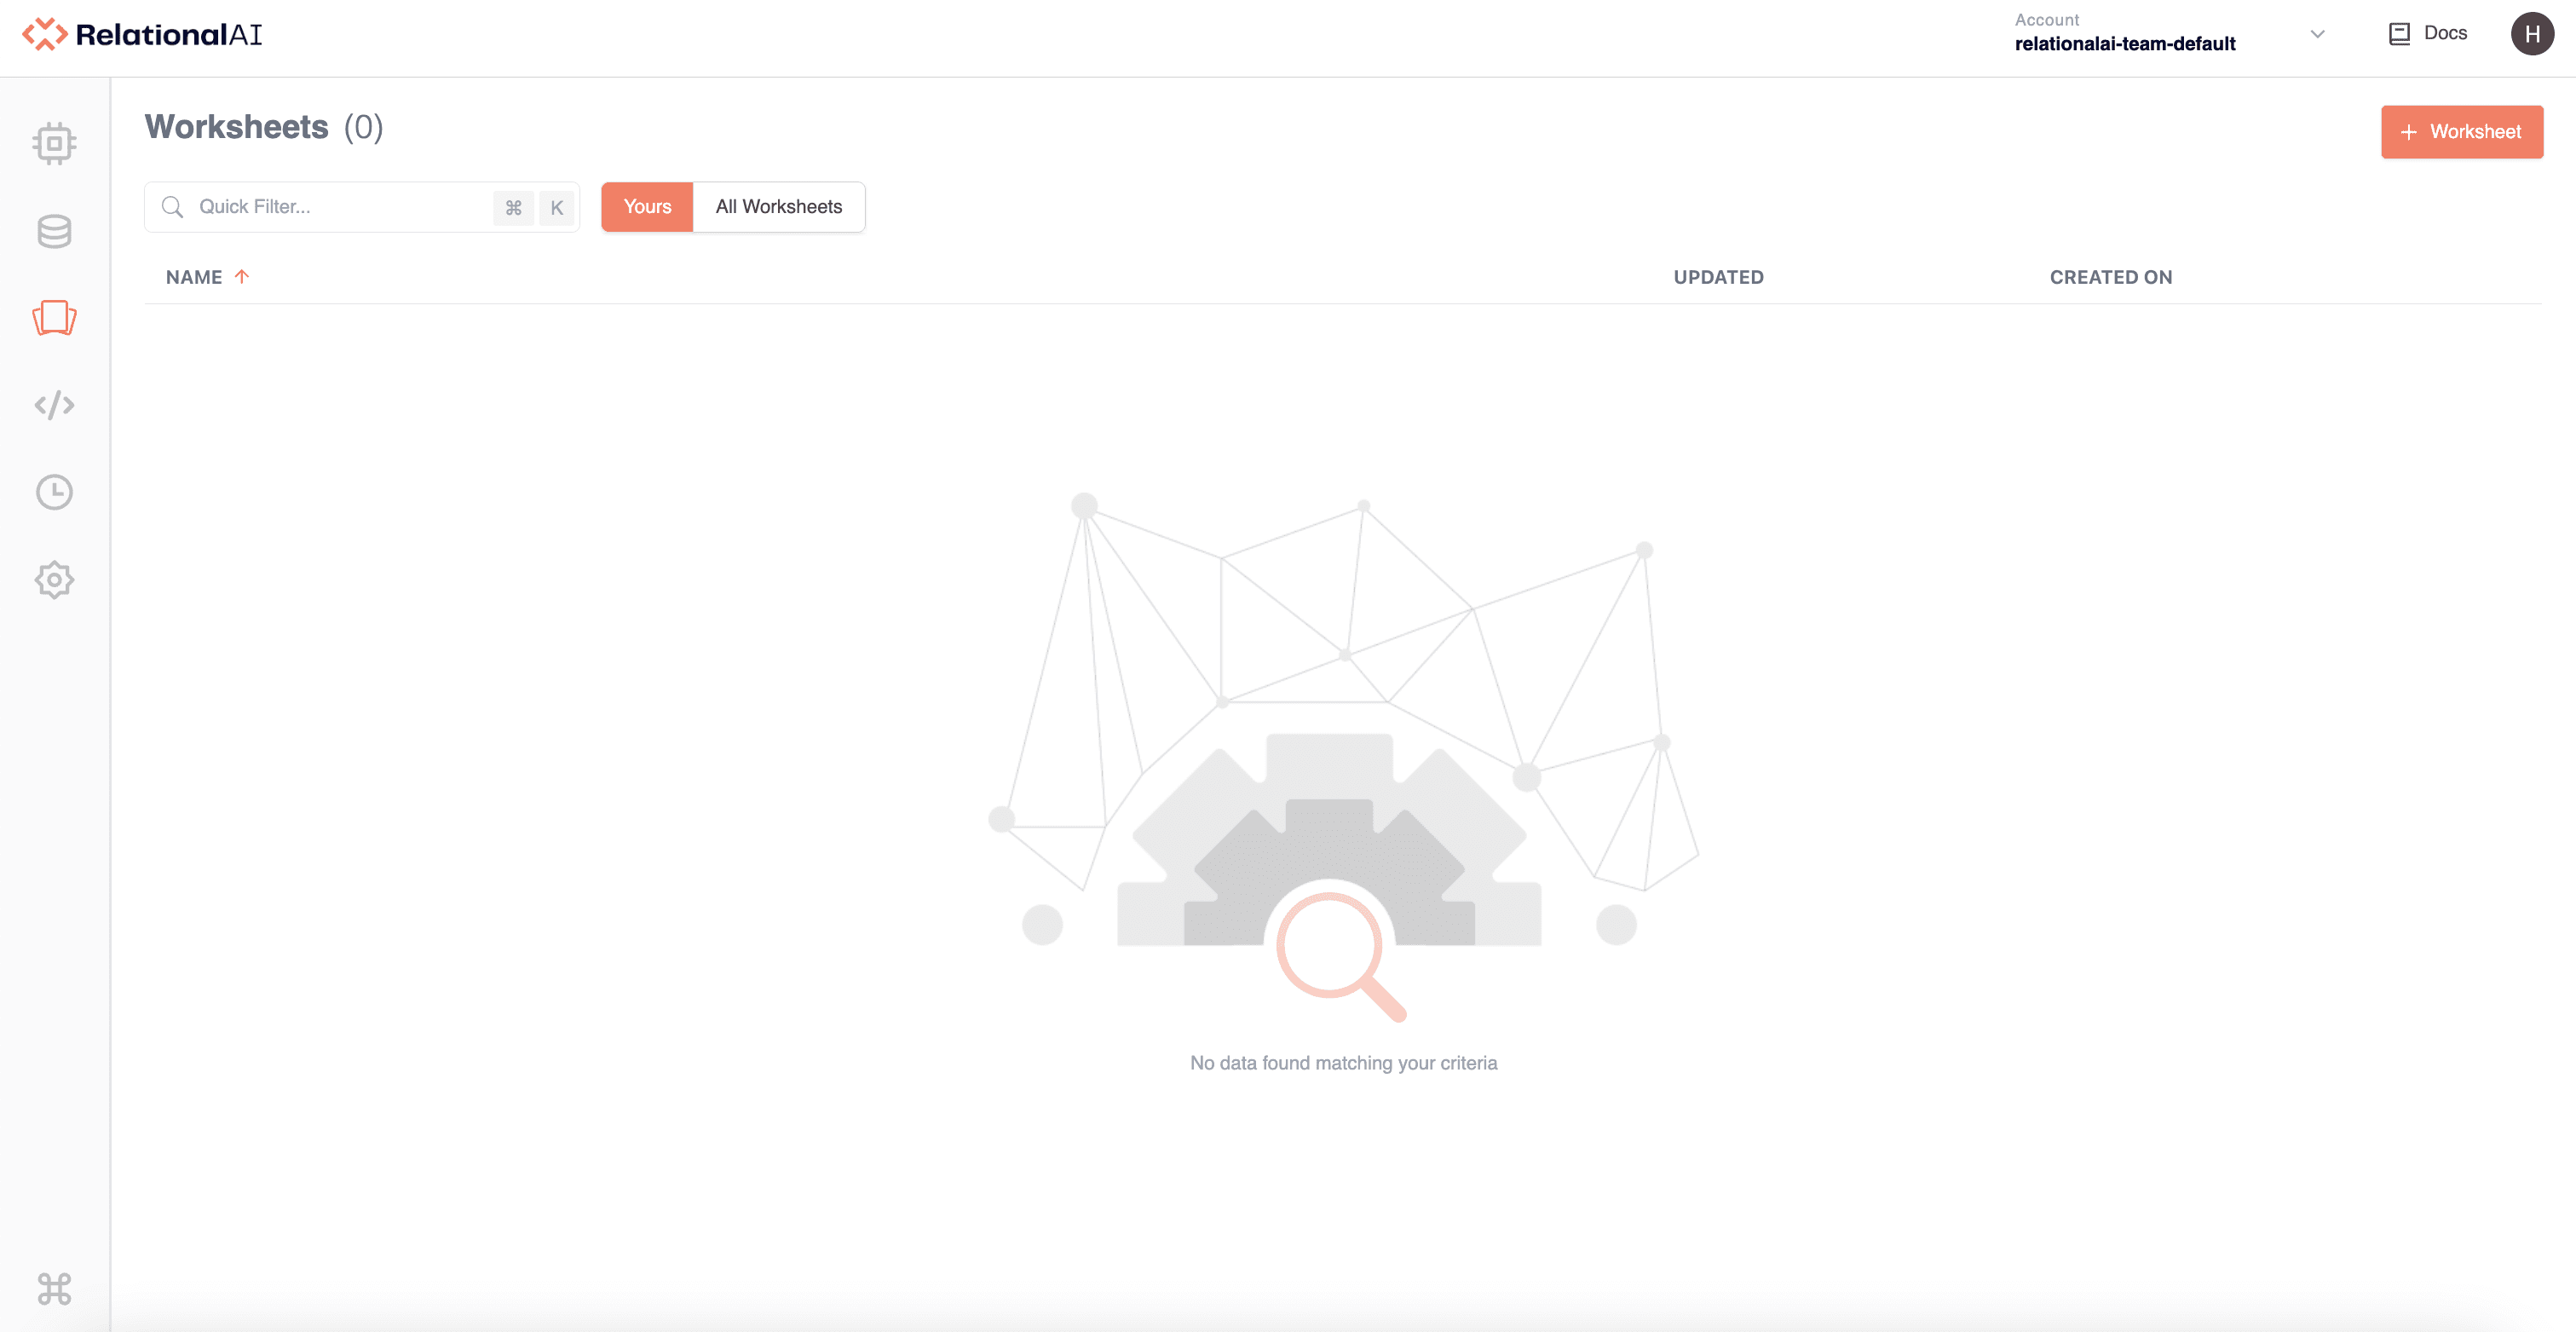
That’s it! You have now logged into the RAI Console. You land on the Worksheets page by default.
Creating a Worksheet
Before you start querying in Rel, you first need to create a worksheet.
To create a new worksheet: In the Worksheets page, click + Worksheet in the top right-hand corner.
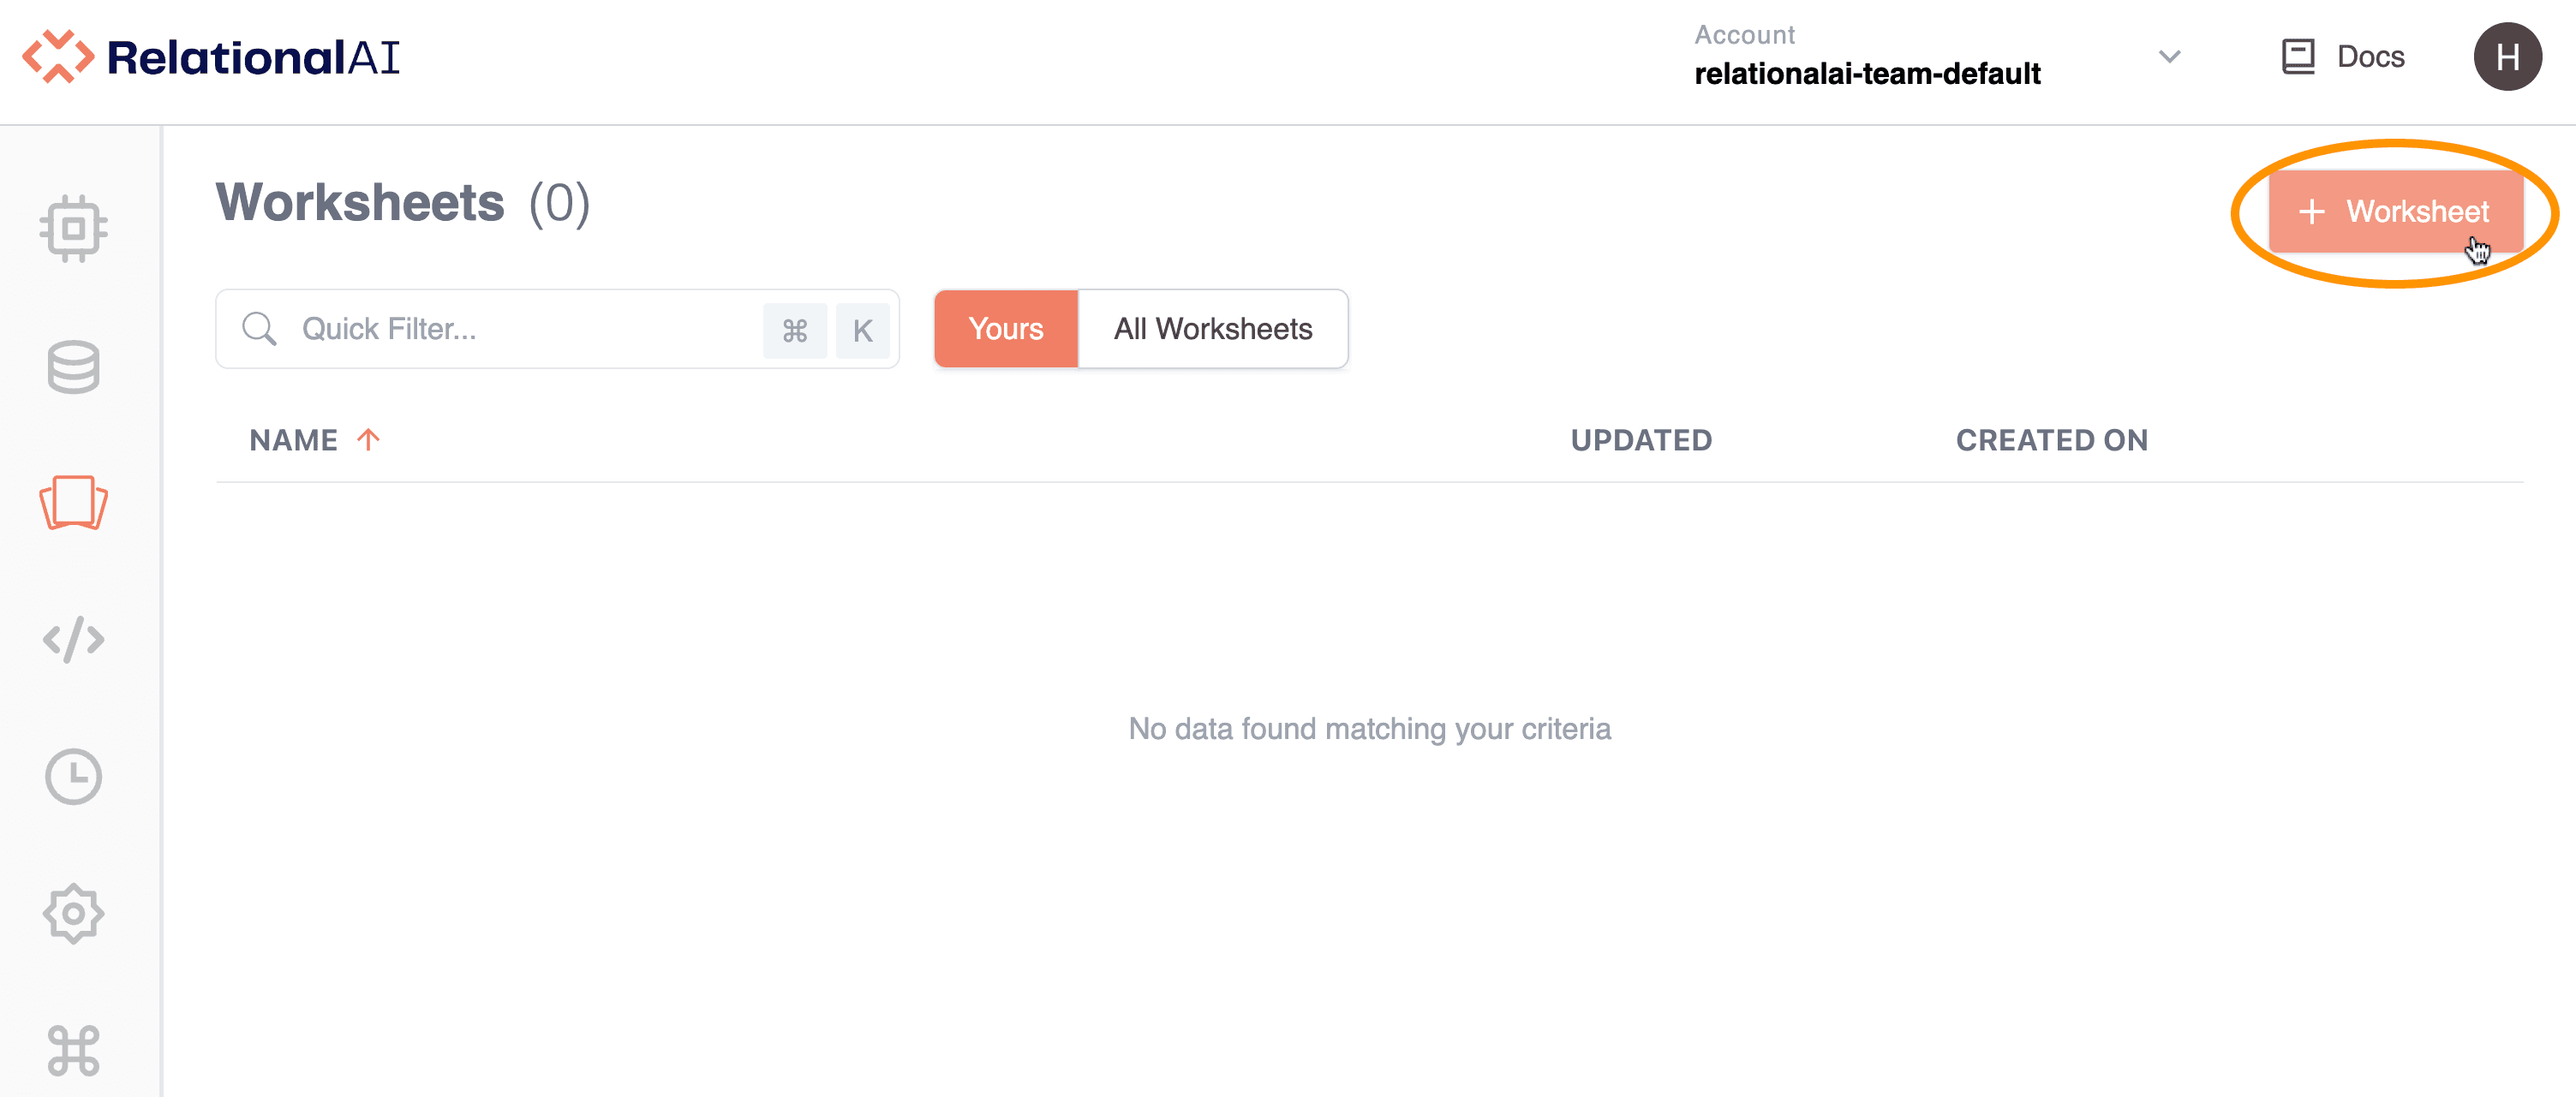
This automatically takes you to the Editor page and opens an untitled worksheet in the Editor. If no engine or database is selected, you are prompted to select from the respective pop-up menus.

Selecting or Creating an Engine
The RKGS separates data storage from computation to achieve unlimited scaling. In the RAI Console, data storage is managed by databases, and computation by engines. An engine is a virtual machine running in the cloud, which executes your database transactions.
All databases require an engine to run. To use a database, you must choose or create an engine.
Selecting an Existing Engine
To select an existing engine:
-
Click the Engines pop-up menu in the Editor.
-
Either:
- Select an engine from the list.
OR
- Search for an engine by typing text into the Search field then click its name in the list.
The name of the selected engine then appears in the Engines menu.
If no engine is available, you need to create one.
Creating a New Engine
To create a new engine:
-
Click the Engines pop-up menu in the Editor.
-
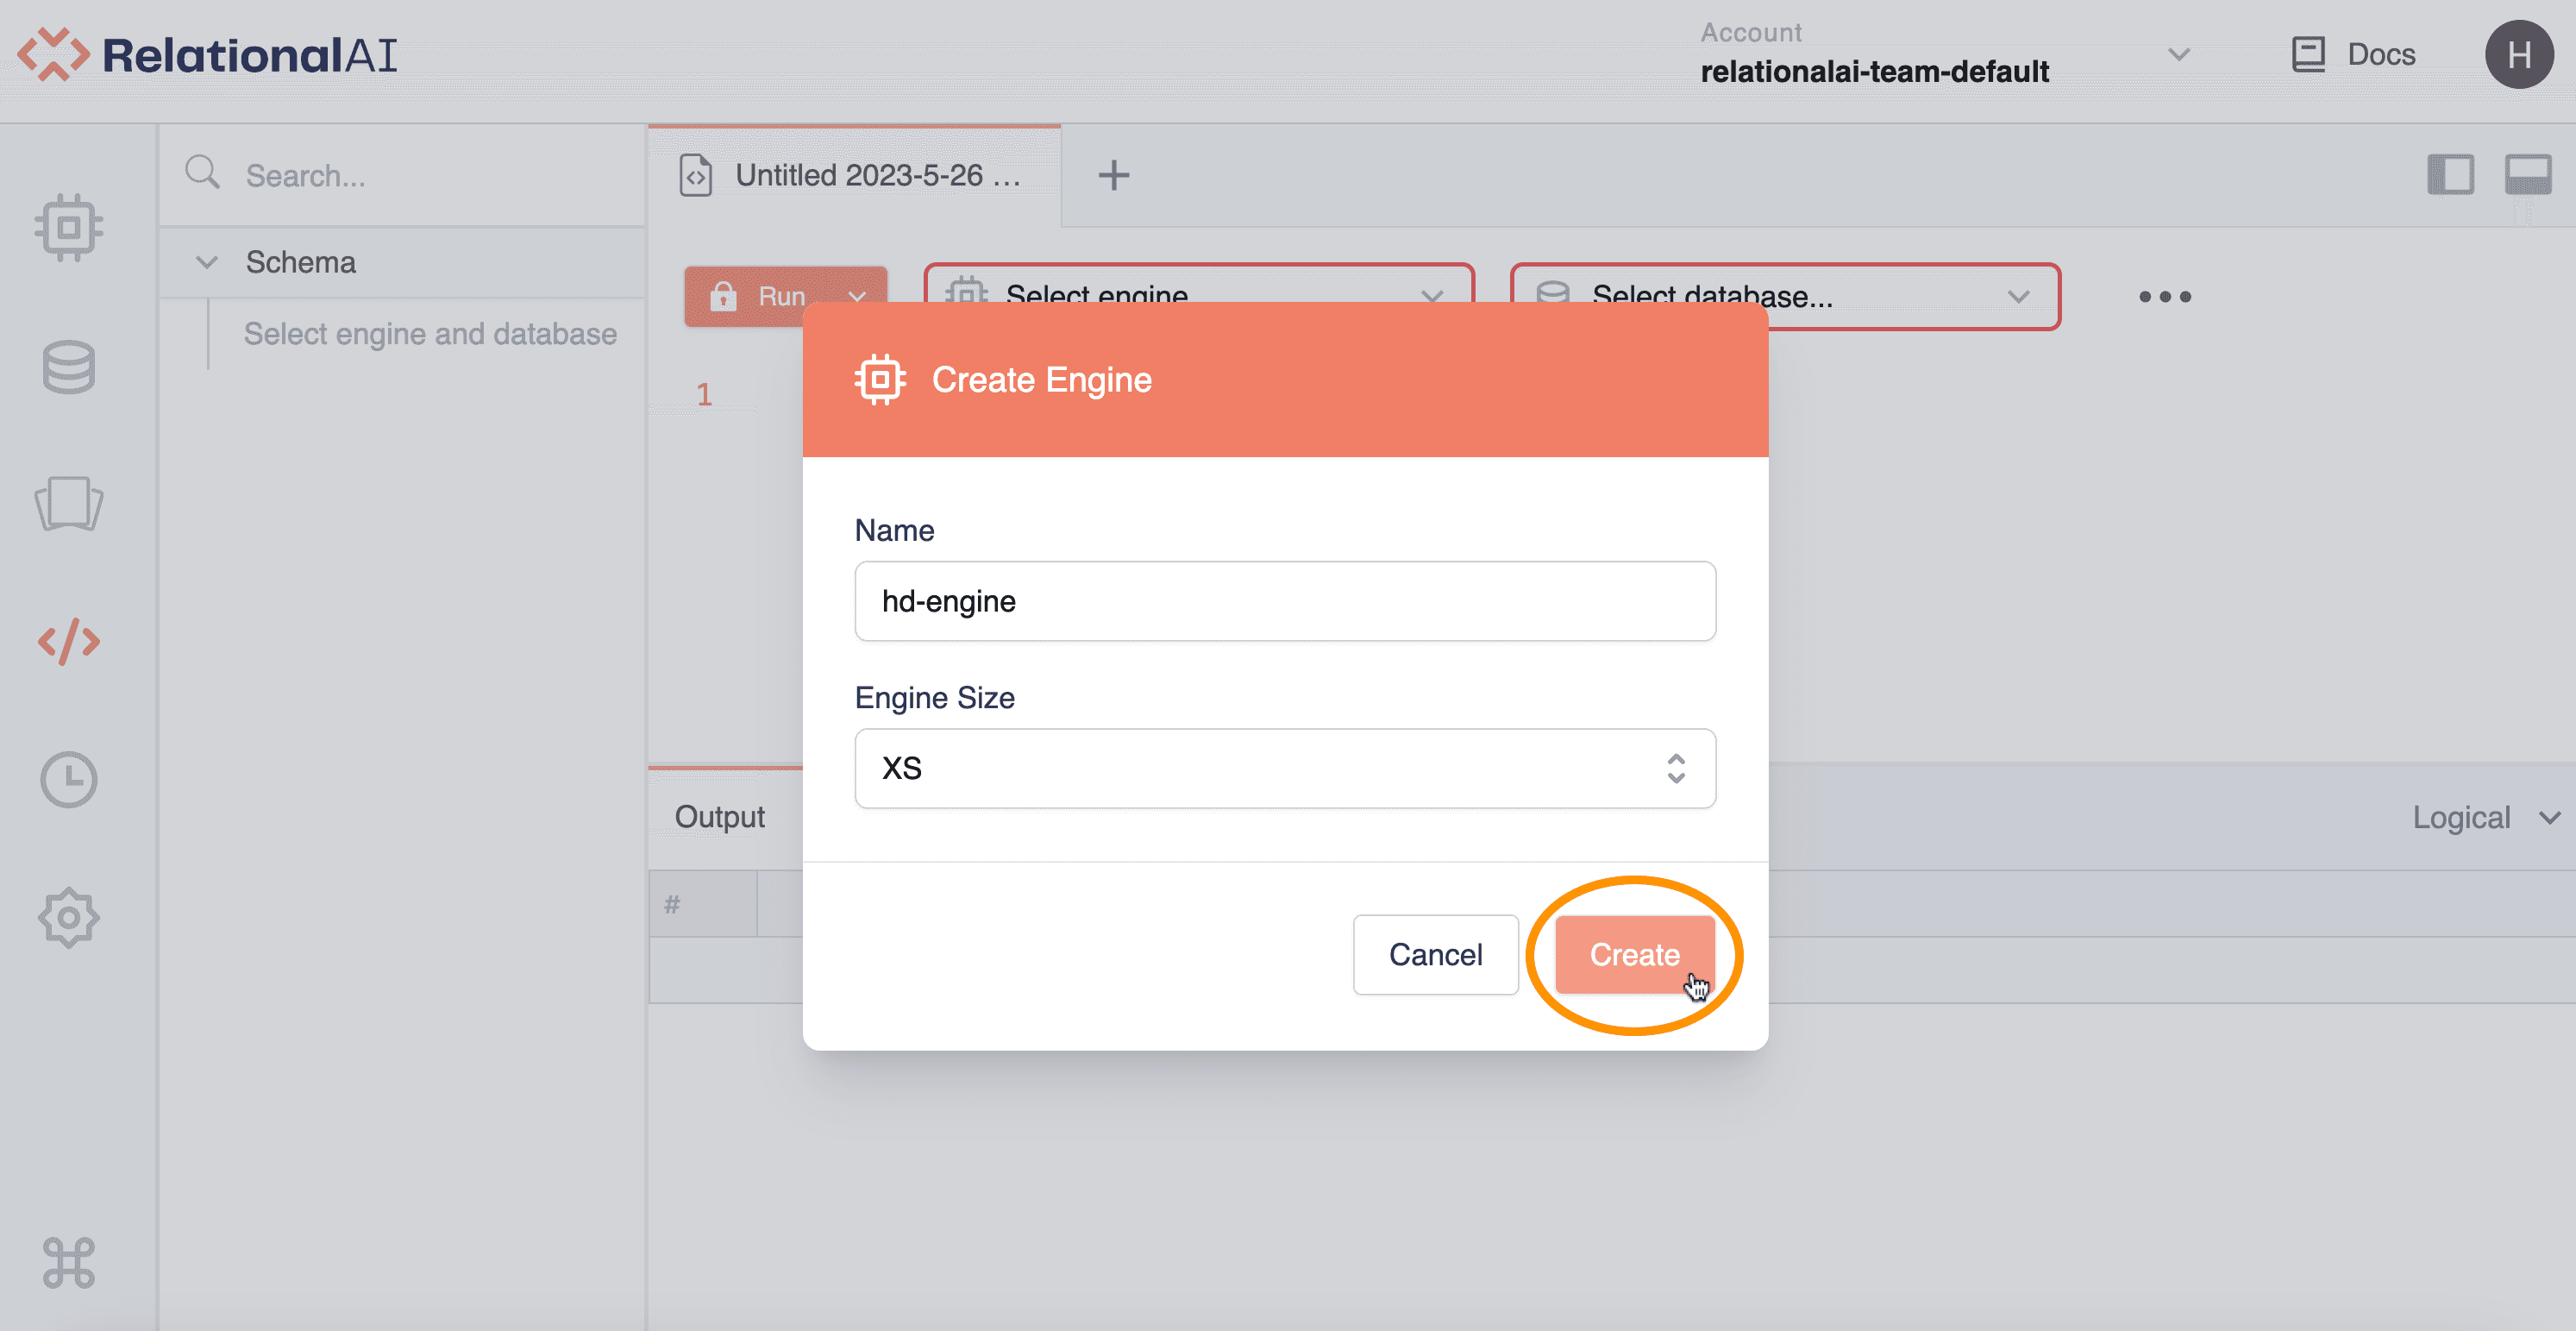
Click Create Engine. This opens the Create Engine window.
-
Under Name, enter a name for your engine that has not been used previously.
-
Under Engine Size, click the up-down arrow to select the size of your engine. For now, start with XS. You can increase the size at a later stage should you need to load more data or require more resources for concurrent workloads.
-
Click Create.
The name of your engine then appears in the Engines menu. The Console also adds this engine to the list of engines in the Engines page.
Note that the engine may take a few minutes to be provisioned. You can use the engine once it is successfully provisioned.
Selecting or Creating a Database
Databases are containers for both data and logic. They contain base relations and models that you can use to build and organize your Rel applications.
After you’ve chosen or created an engine, you can select or create a database.
Selecting an Existing Database
To use an existing database:
-
Click the Databases pop-up menu in the Editor.
-
Either:
- Select a database from the list.
OR
- Search for a database by typing text into the Search field then click its name in the list.
The name of the selected database then appears in the Databases menu.
If no database is available, you need to create one.
Creating a New Database
To create a new database:
-
Click the Databases pop-up menu in the Editor.
-
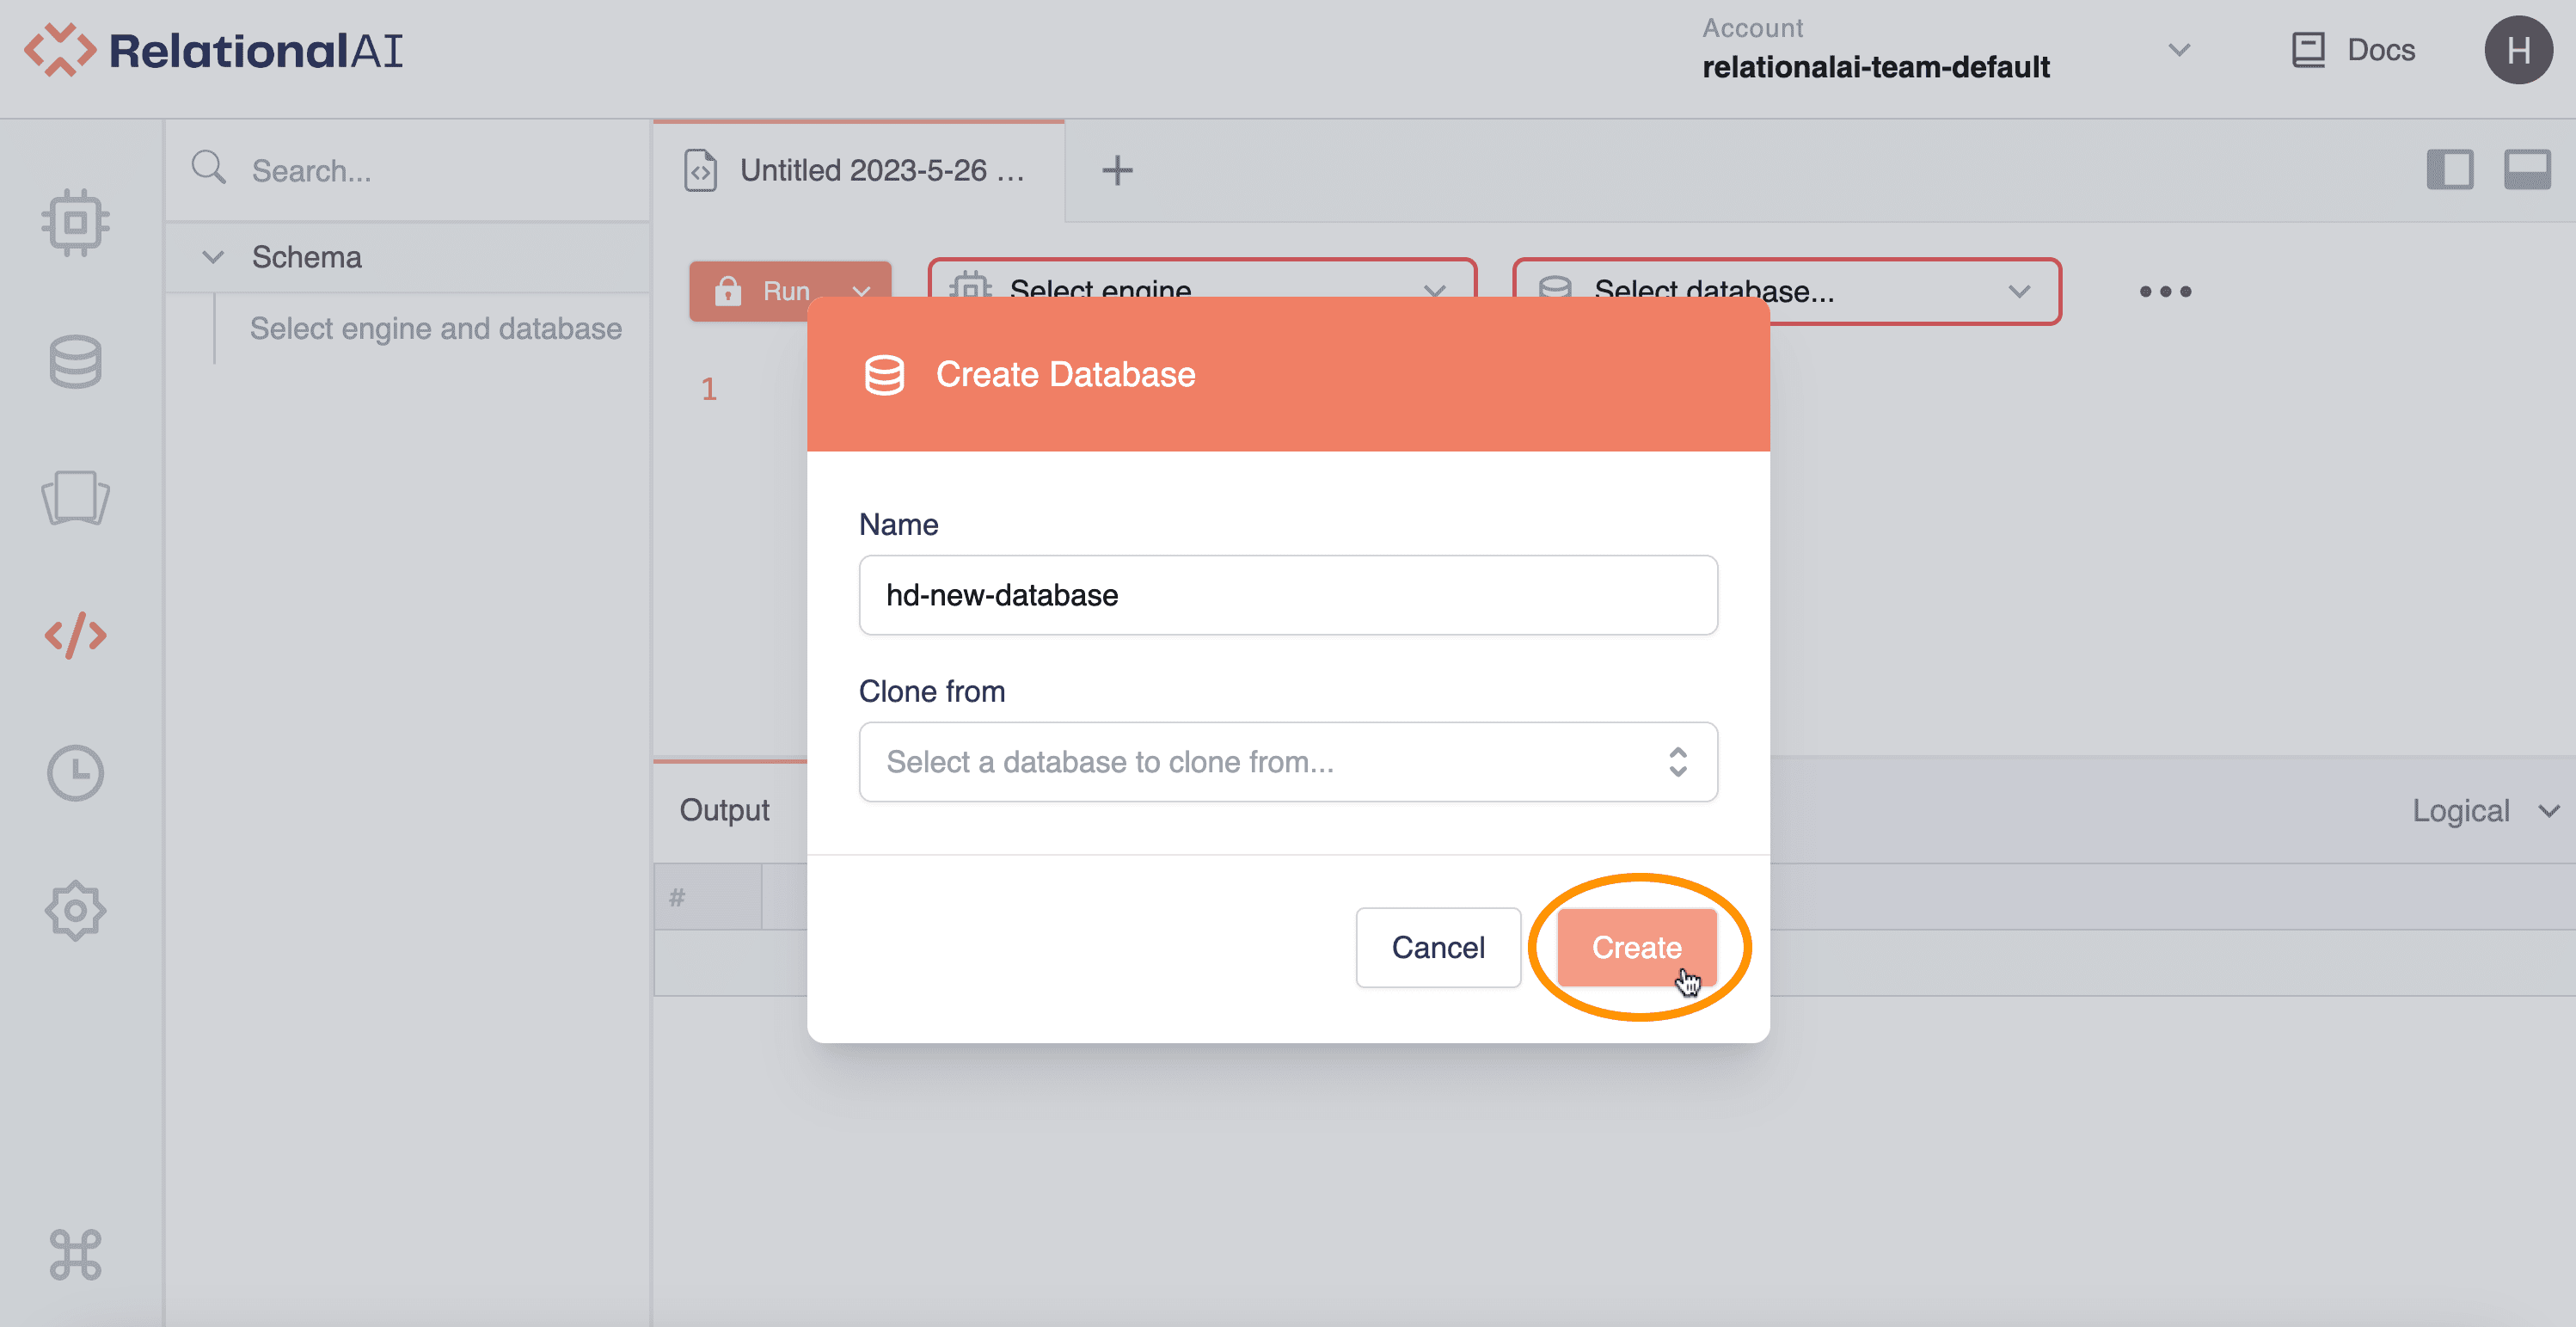
Click Create Database. This opens the Create Database window.
-
Under Name, enter a name for your database that has not been used previously.
-
Click Create.
The name of your database then appears in the Databases menu. It is also saved in your list of Databases in the Databases page with the status CREATED.
Note that you also have the option to clone a database. This allows you to create a new database as a clone of an already existing database. There’s no reason to do that now, as you are creating a new database from scratch. But you may find this functionality useful at a later stage. For more details, see Cloning Databases.
You can now begin querying in Rel.
Using Rel
You can test the worksheet by entering the following code into the Editor and clicking Run or pressing Shift+Enter:
// read query

def k = 1; 2; 3
def output = k
You should see the output below in the Output tab of the Bottom panel:
Once you run a worksheet, the worksheet is automatically saved in your list in the Worksheets page. To change the name of your worksheet, see Renaming Worksheets.
This is all you need to get started with the RAI Console. Once you’re done working in the Console, you should delete any engines you created. See step 8 of Using the Engines Page.
See Also
For more information on navigating and using the RAI Console, check out the RAI Console guides.